
Click here to go to the PocketGPSWorld Safety Camera Database


McGuider / Sygic - Instructions for installation of PocketGPSWorld.com Speed Camera Database
McGuider 7.7 (2009) and Sygic Mobile 2009 use a unique database format for their custom POIs with the extension .UPI. Unfortunately it is slightly different to the format used in McGuider 7.5 (2008) and Sygic Drive so the previous instructions (here) do not currently work.
Sygic (the programmers behind McGuider) have released a convertor (here) to create UPI files from tab delimited text files of the right format. It only supports a single file conversion at a time but it does support command line options which allow batch files (see in this tutorial for sample batch files and notes on use). Versions downloaded before Christmas 2008 are incompatible with McGuider 7.7. Sygic also released a new version on 23rd January 2009 which fixed a major bug affecting a vertical strip of the UK from approximately Reading to Central London so make sure your POI Convertor.exe file has a date stamp of at least 23/1/2009.
 Downloading the Pocket GPS Safety Camera Database Downloading the Pocket GPS Safety Camera Database
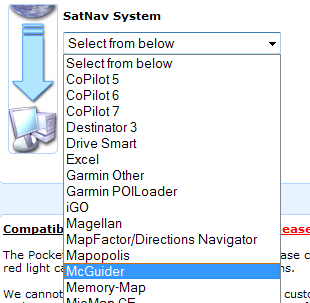
- Download from the Pocket GPS Safety Camera Database page by selecting McGuider
- Press 'Continue'
- Choose the database files you require (country and database type) e.g. UK - Speed Zoned Complete
- Click 'Download Database'.
Extracting the Database on the PC
- Extract the ZIP file contents to a directory on your PC
- In Windows XP/Vista right-click the .zip file and select "Extract Files Here..." or use a program such as WinZip or WinRar to extract the files. If you do not extract the files Sygic Convertor software will not be able to use them.
Installing Pocket GPS Safety Camera Database - Manual Conversion
(note that the screenshots shown below were taken from a beta version of Windows 7 and as such may differ slightly depending on your version of Windows)
- Run POI Convertor.exe from the Sygic POIConvertor download.
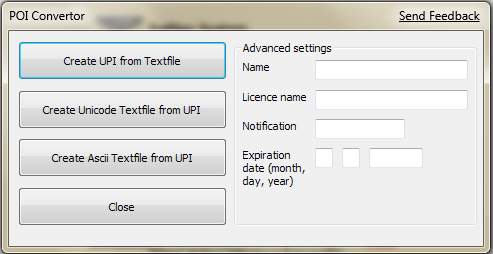
- Click on 'Create UPI from Textfile' - leave the other fields blank
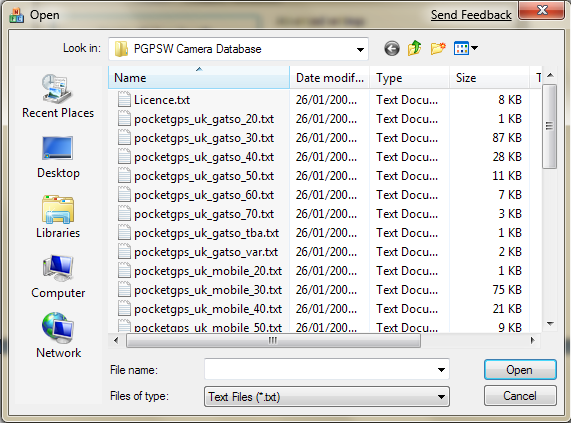
-
Select the first text file from the speed camera download you saved earlier (in this example it is 'pocketgps_uk_gatso_20.txt')
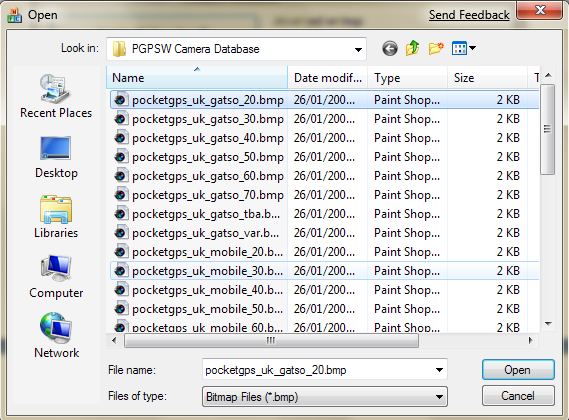
- Select the icon file (.bmp file) to be associated with this POI.
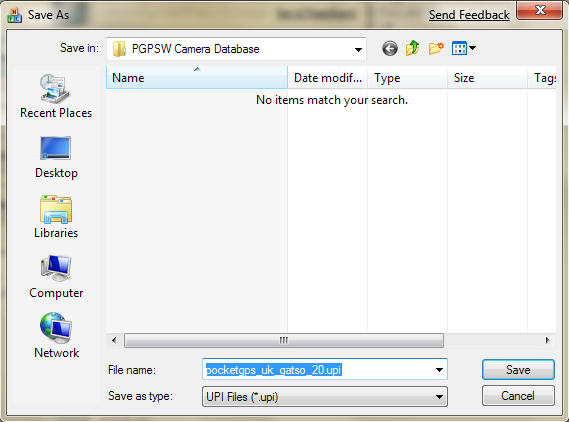
-
Give the UPI file a name. This MUST be the same as the BMP and TXT file (except with a UPI extension) – e.g. pocketgps_uk_gatso_20.upi in our example.
- Once complete you will receive an 'Exporting Finished' message.
- Repeat steps 2 - 6 for each file you need to convert.
Installing Pocket GPS Safety Camera Database - Batch Conversion
If you want to quickly process multiple POI files then it is possible to run the POI Convertor from a batch file script. For this to work you need to copy the POI Convertor.exe and batch file into the same directory the speed camera download files are located. Once everything is in the same directory just double click the batch file icon to run it.
Sample batch file:
"poi convertor.exe" pocketgps_uk_gatso_20.txt pocketgps_uk_gatso_20.bmp pocketgps_uk_gatso_20.upi
"poi convertor.exe" pocketgps_uk_gatso_30.txt pocketgps_uk_gatso_30.bmp pocketgps_uk_gatso_30.upi
"Poi convertor.exe" pocketgps_uk_gatso_40.txt pocketgps_uk_gatso_40.bmp pocketgps_uk_gatso_40.upi
"Poi convertor.exe" pocketgps_uk_gatso_50.txt pocketgps_uk_gatso_50.bmp pocketgps_uk_gatso_50.upi
Forum user, scarymonkey, can supply some usable batch files for the camera database on request - please contact him via the forums.
Copying the files to the Storage Card
- Locate the folder with the UPI files you created in the steps above and select all the .upi files (tip: hold CTRL and click on each .upi file)
- Copy all these files (CTRL+C or right-click and select 'copy')
-
Connect your phone/GPS to your PC, go to the device in Windows Explorer and locate the map folder in the storage card - UK maps can be found under: MAPS\GBR
- Paste the .upi files into the map folder (CTRL+V or right-click and select 'paste')
- Repeat step 1 above but this time copy all the bmp files and paste these into the RES\ICONS folder of the storage card.
- McGuider is compatible with the PGPSW voice alerts which, if used, need to be copied and pasted into the RES\SOUNDS folder of the storage card.
- When updating the database next time you only need to copy the .upi files to the storage card.
Setting The Alerts
- After completing the steps above to create and copy the .upi files to your storage card, run McGuider.
- Go to 'Manage POI' by clicking anywhere on the map, then go right once - Manage POI is on the top left.
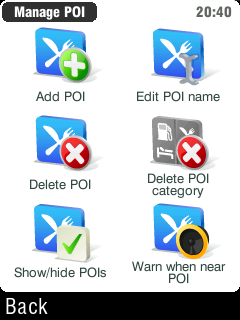 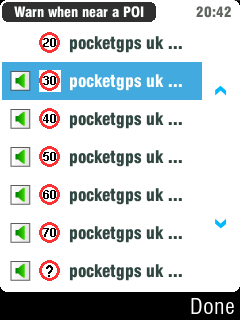
- Select 'Warn when near POI' and then scroll down to find the pocketgps POIs.
- Note that in portrait mode you may not be able to see all the text for the alert, but the icon should help identify the POI.
-
If you cannot see an icon next to a camera alert it is likely the bmp icon is not either 8bit (256 colour) or 32bit. Most packages save in 24bit colour. Some icons in the download may be 4 bit (older pmobile ones were but these have been changed since 26th Jan 09) and will need converting in an art package before use.
 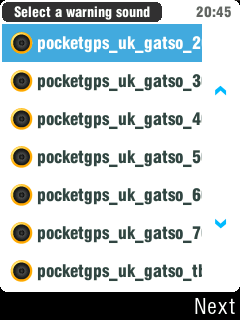
-
Select the first one and set your distance followed by the alert. If you are using the custom alerts you will see them listed here. Again, using landscape mode will allow you to see more of the file name.
-
Choose if you want to be alerted only when the camera is on your route or within your chosen alert range around your position. The latter will give more false alarms, especially if you use large alert distances.
-
Repeat steps 3-6
for all the alerts before clicking done on the ‘Warn when near poi screen’ to return to the map display.
If you have successfully completed all the above steps then you will be able to see the icons on the screen as well as hear the relevant alert. When close to a camera you will also see a distance countdown in the top left of the screen.
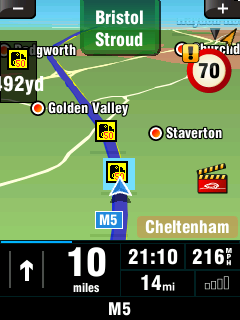
Taken from a route demo on McGuider at high speed
|