Author: Mike Alder
Tools required:
Torx driver size 6 and possibly small Phillips screwdriver depending upon fasteners employed within the housing.
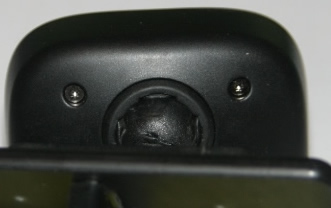
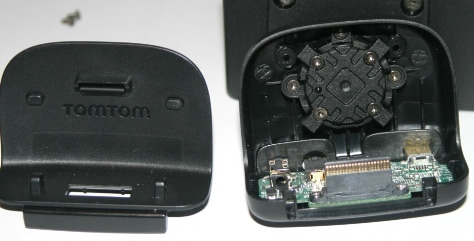
Start by removing the two Torx screws in the back of the housing:
? ?
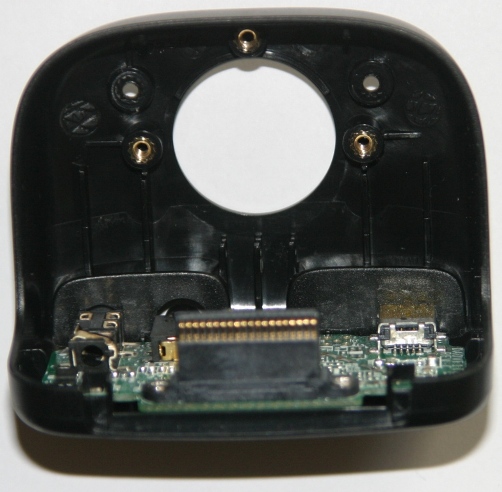
The front face is simply unclipped using a little pressure from your thumb nails, do not apply excessive force or you could break it or the connector assembly.
The top part needs to be levered out first a small distance then the whole plastic component will slide up, once it is clear of the connector it is simply removed.
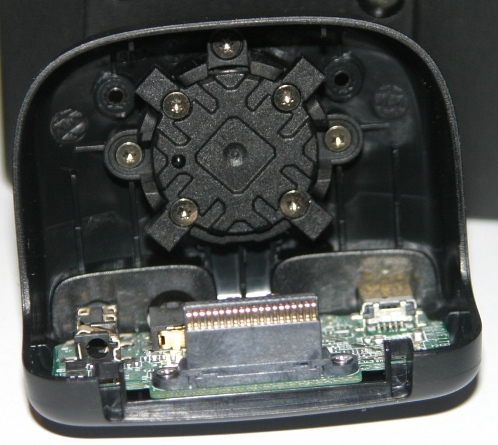 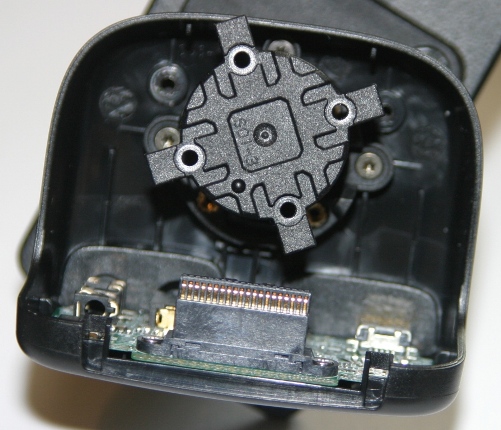
Remove the four screws from the pressure plate, which simply pulls off the ball using a small amount of force.
? ?
?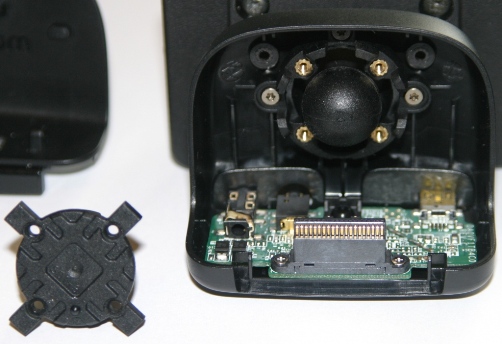
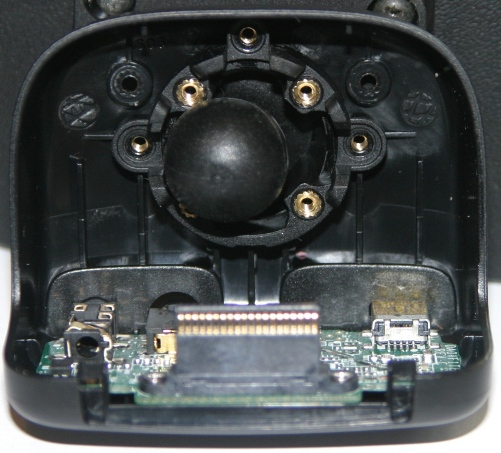
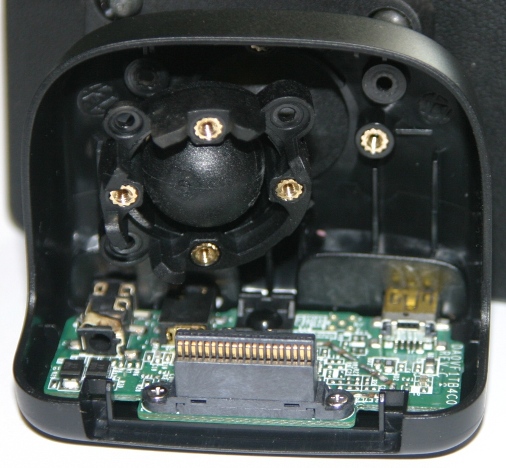
Next you remove the three screws securing the retaining plate, this is a tight fit into the body of the mount, but if you apply a small amount of pressure to the rear of the retaining plate at the top it will release, note the base of this retaining plate is held captive so it must be tilted towards you at the top before moving it slightly upwards to clear the 3 lugs.
? ?
The retaining plate simply pulls off the ball with a little force, I found it easier to release by rotating the retaining plate around on the ball whilst applying pressure to release it, again only a small amount of force is needed to split the assembly.
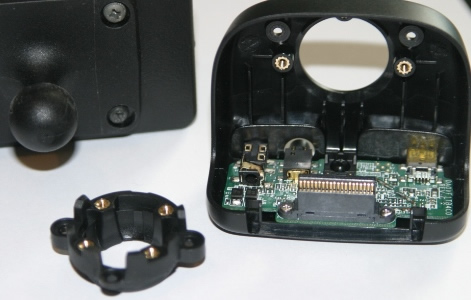
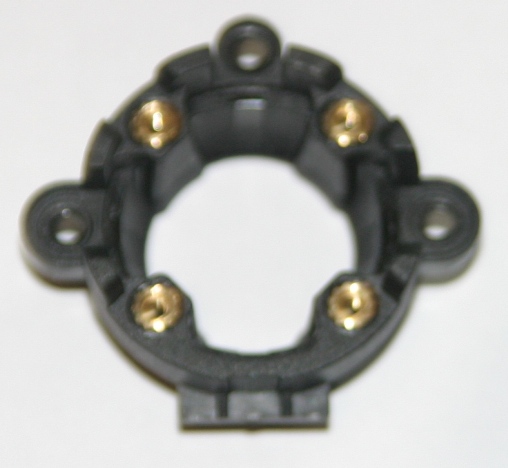
The retaining ring showing the part at the bottom which MUST be carefully positioned behind the 3 lugs before replacing the three screws during re-assembly.
?
Reassembly of the mount is simply the reverse of how it came apart, it takes around 5 minutes to split one of these down to its components.
|